Access Control (Synergis)
Everything related to doors and credentials in Genetec Security Center, from system design and configuration to day-to-day operations. Built around real deployments, real constraints, and lessons learned after the calm water turned choppy.
Create a Cardholder
Create a New Cardholder
-
Login to Security Desk or Config Tool
-
Click Tasks > Cardholder Management
-
Click New at the bottom
-
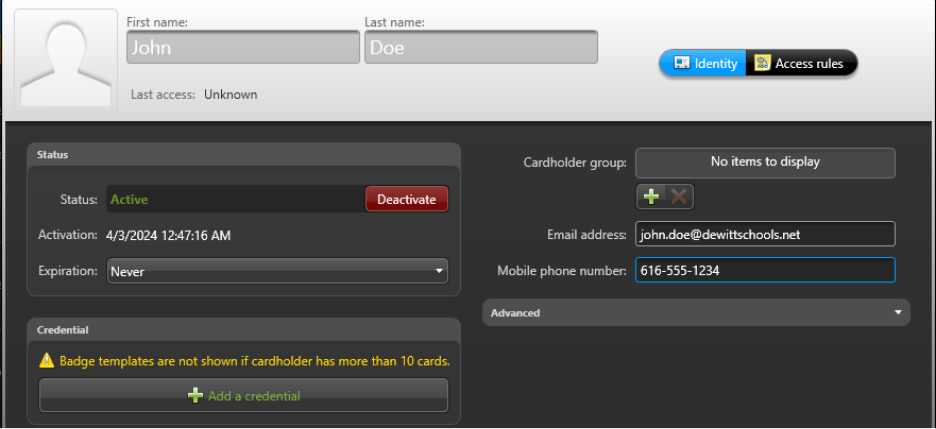
Type in the Person’s Name, (Optional but encouraged) email address and mobile phone number.
-
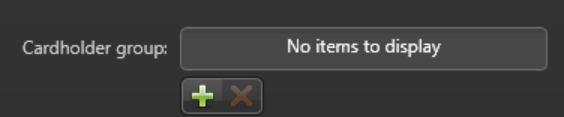
Next, click the + sign under Cardholder Group
-
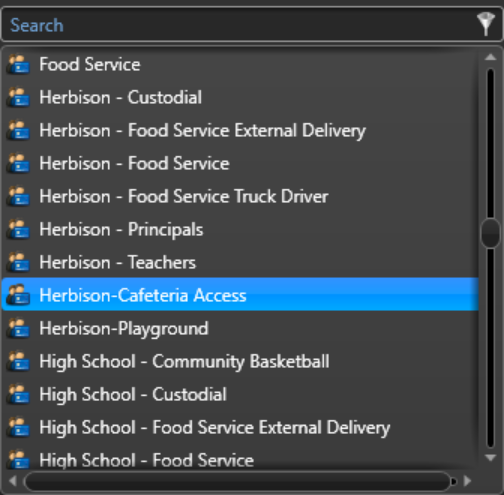
Find the applicable Group(s) and click okay. You can have more than one Group.
If you have access to a door reader or an enrollment reader, skip to step 9
-
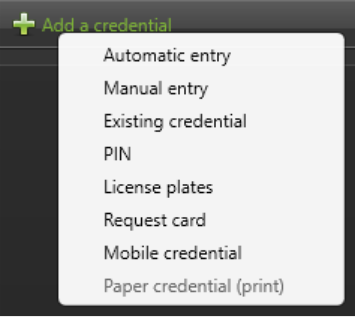
Next, Click “Add a credential” you can choose “manual” if you don’t have access to a door reader or enrollment reader.
-
Choose the type of card you have and enter the facility code (found on the side of the box of cards)
and the card number (found on the bottom of the card. *See Examples
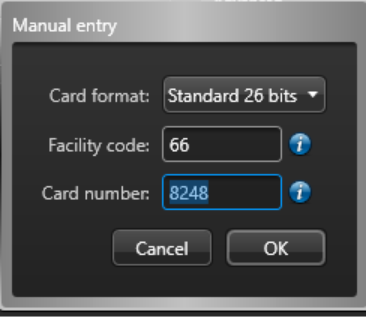
Example (Not your facility code)
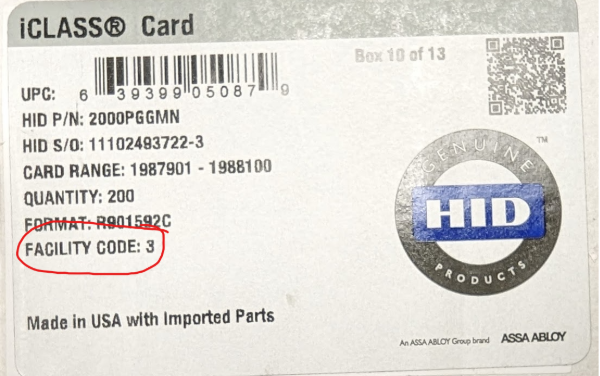
The card number is usually the first 5 digits of the number at the bottom

-
If you have access to a reader select “Automatic Enrollment”
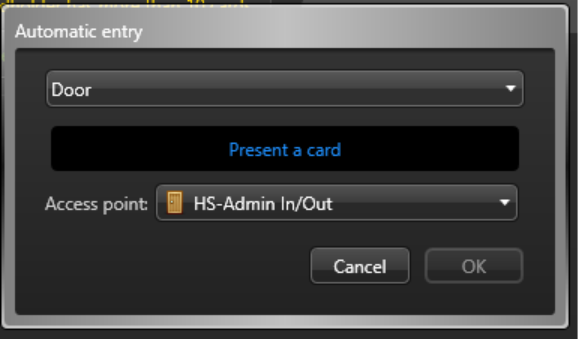
Use the Drop Downs to Select the Enrollment Reader or a Door
Then choose the door closest to you.
Swipe the badge to the reader and the credential will be added.
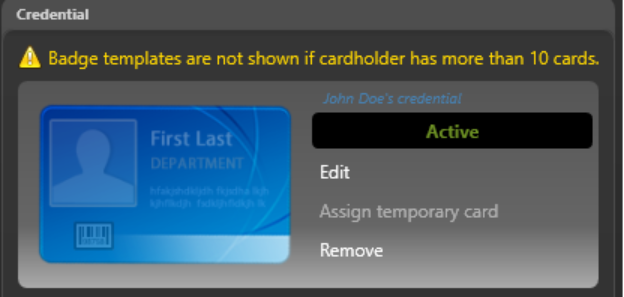
Click Save and Close, and you’re done!
Create a New Access Group
Create a New Access Group
-
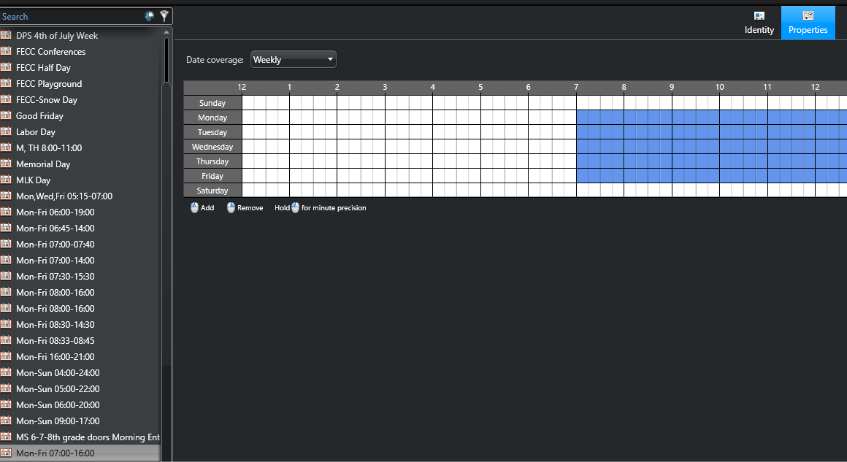
Create a Schedule or Use an Existing Schedule for an Access Rule.
-
(I try to re-use as many time-based schedules as you can. As this could get very confusing and large) – You can make several access rules based on one schedule.
-
After creating or re-using the Access Rule head over to the Access rules

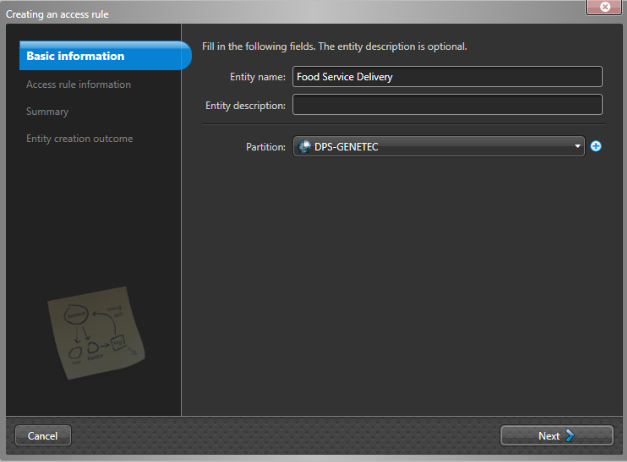
Click New > Access Rule (You can name it here, I suggest “School Initials – What its for – time ) – Don’t forget to set the Partition to the Correct School, or the people at the school will not be able to see it or use it)
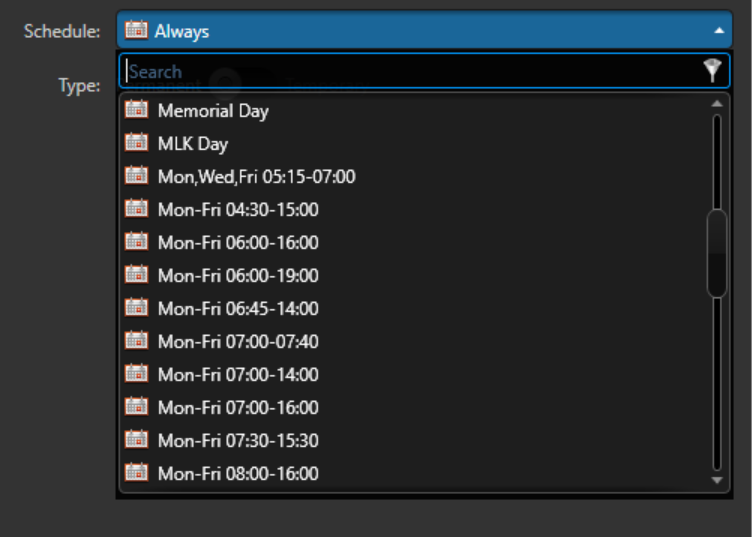
Select the time fame for the Access Rule
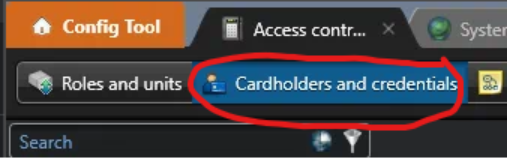
Now click on Access Control > Cardholders and Credentials
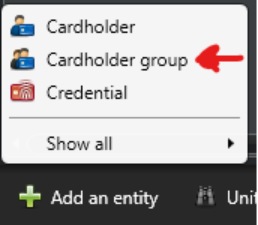
At the bottom, click Add an entity > Cardholder Group (you may also use an existing cardholder group) – Label this well, as it will be hard to locate when adding these groups to the cardholder.
Once you’ve created your cardholder group you will need to apply the access rule.
Click Access Rules and Select the access rule you wish to use.
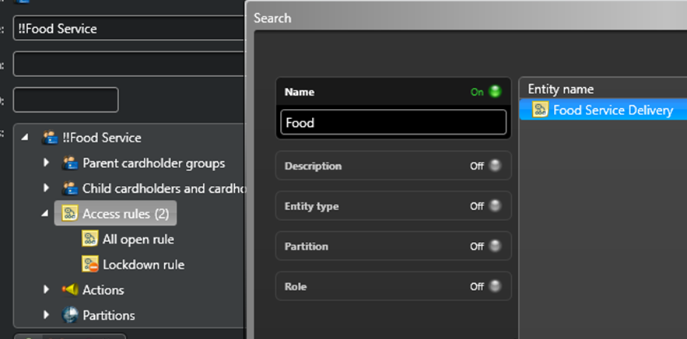
Now that you have set an access rule to a cardholder group (or single cardholder)
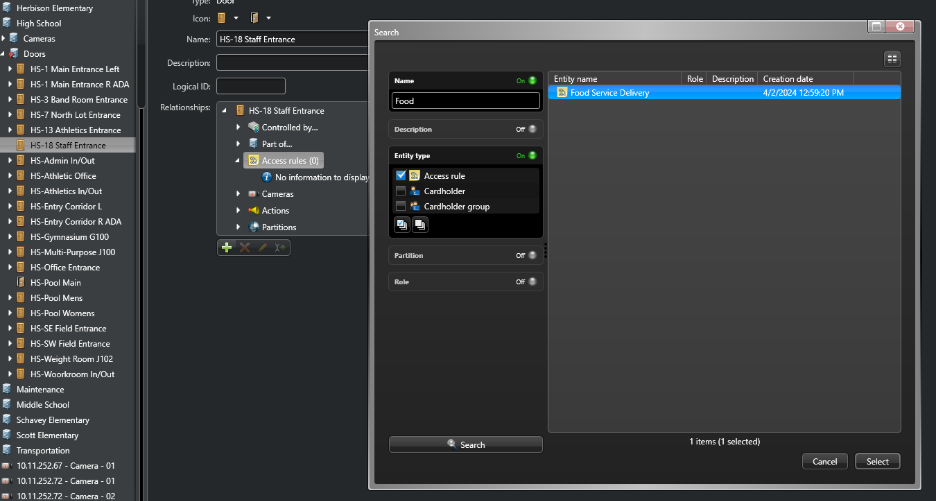
You will need to apply it to the door(s) or areas you wish this group to have access to.
Goto Area View > And find the Door  or Area
  you wish for the rules to apply to.
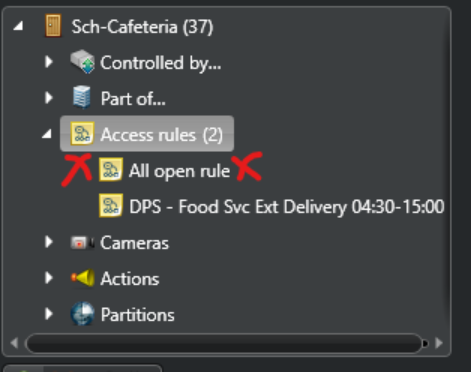
Make sure you remove the “All Open Rule” if there is one. This is applied by default when adding doors.
Next we need to apply the groups to the cardholder. This function can be done in Config Tool or Security Desk.
Search for your Cardholder:
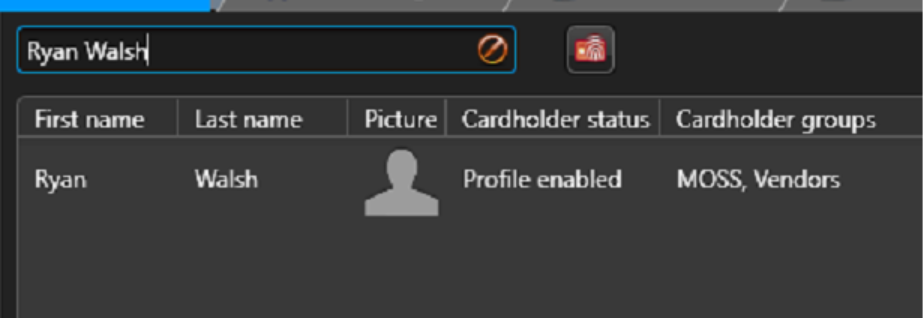
Double Click on the Cardholder, and choose the + sign under the cardholder group:
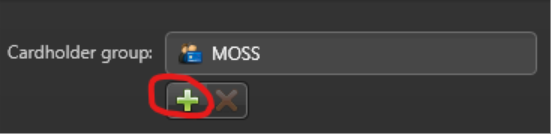
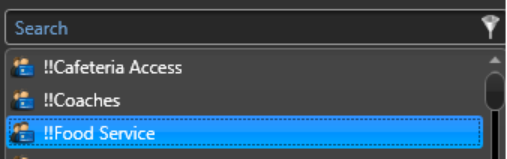
Select your Cardholder Group and Bam! You got it!
Live Monitoring of Cardholders
Live Monitoring of Cardholders
-
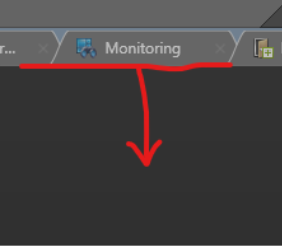
In Security Desk Choose “Monitoring”
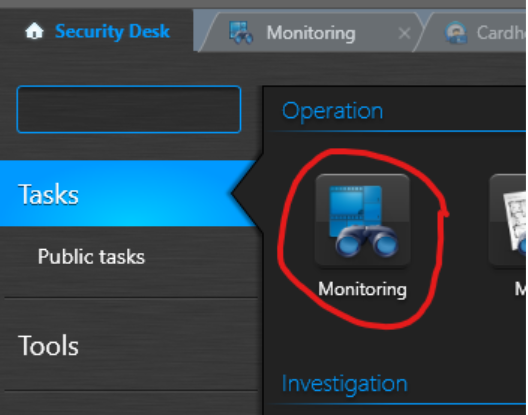
In the monitoring window, click and drag the row line down to show the event area.
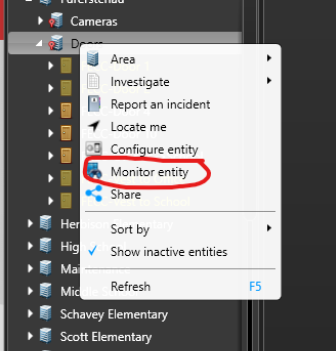
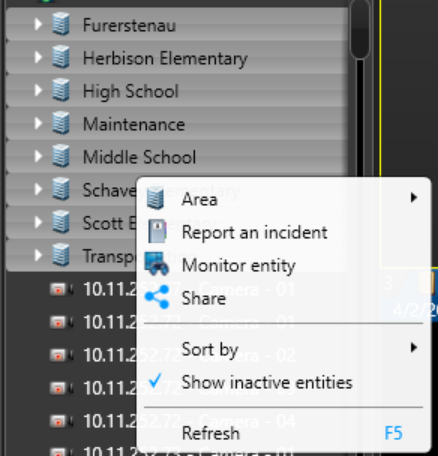
Right Click in the Tree on the left and choose “Monitor Entity”
You may also do this for a single door or camera.
You may also choose multiple areas by holding shift and then right clicking after your selection.
Event log will then show live run, so you can assist someone of the phone.
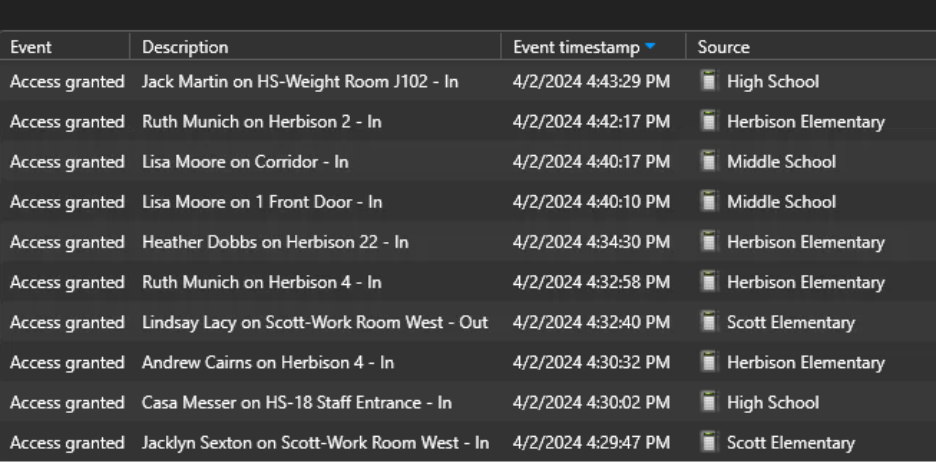
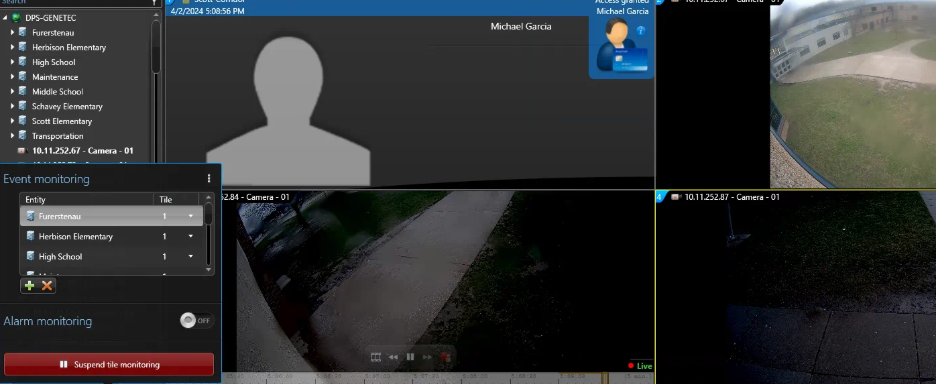
You can manage this monitoring in the tiles by clicking “Monitoring” at the bottom
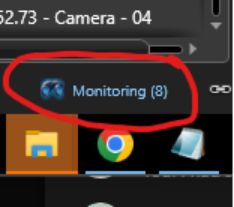
Now you can manage the monitoring of events
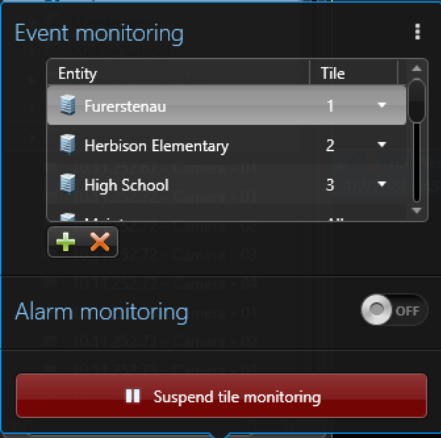
This is useful if you want this running as well as some cameras. Having All Entity’s going to 1 Tile